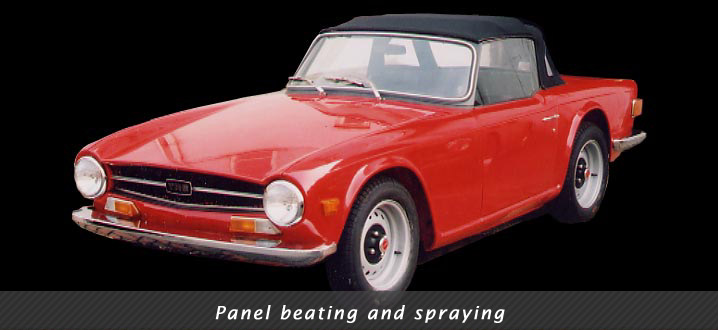
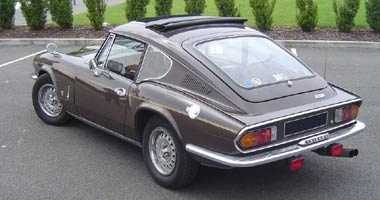
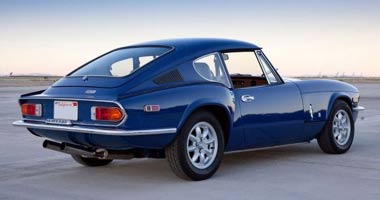
1974 Triumph GT6 Mk 3
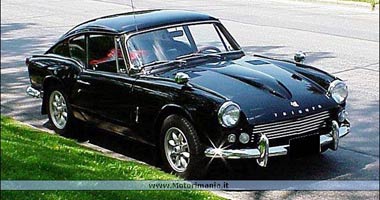
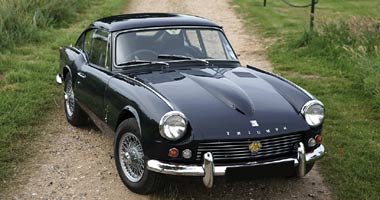
Triumph's GT6 resulted from shoehorning the 6 cylinder 2 litre engine from the Triumph 2000 saloon into the Spitfire chassis. A large power bulge was necessary in the bonnet and the car was only ever offered with a fastback coupe body style, apparently to avoid taking sales away from the open topped TR range. The resulting car was fast, nimble and had delightful styling that led to it being called the E-Type's little brother.
This particular car had a lot of rust damage to the bodyshell and the owner wanted it restored to his particular requirements . . .
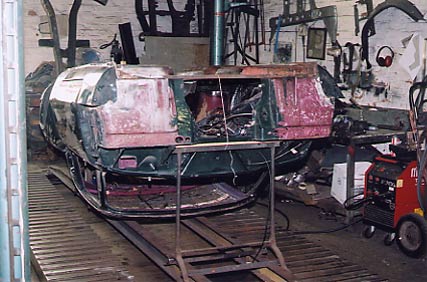
Here can be seen the bodyshell removed from the chassis and inverted for ease of access to the rust underneath. The car was green when it came to us but was originally painted in the striking Triumph Magenta purple colour, much of which still existed under the later paint layer. We stripped the bodyshell totally and set about the process of eliminating all the rust.
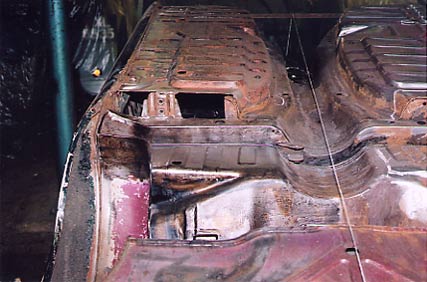
This is the underside of the driver's side of the rear wheel arch and floorpan, which has been thoroughly stripped of of all paint and underseal, showing repairs in progress. The cut out section of metal is where the rear suspension radius rod attaches. This is always a corrosion hotspot because the rust gets between the layers of steel reinforcement.
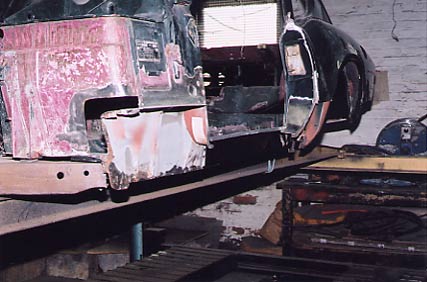
After completing the repairs underneath the bodyshell was turned upright and mounted on the shotblasted and repaired chassis to support it. The forward outrigger of the chassis can just be seen. The sill structure is a single box section on this design and is prone to rust in the usual way. We always remove all the seam edges when cutting off such panels so that the new panel is properly attached with no old bits of rust left behind - a small but vitally important detail for the longer term.
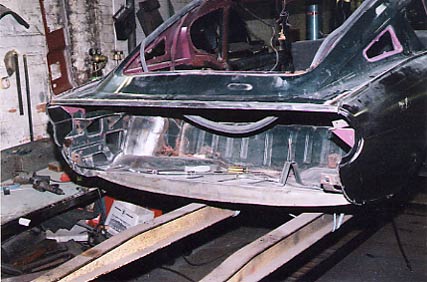
The rear panel and valance was rusty and much repaired necessitating its renewal. The only panels unique to the GT6 when compared to the equivalent Spitfire are the bonnet centre and the roof and rear quarter panels. The rear wings are nearly the same - the GT6 has a fuel filler recess in the near side one. You can only get Spitfire wings so the fuel filler assembly has to be transferred from the old wing.
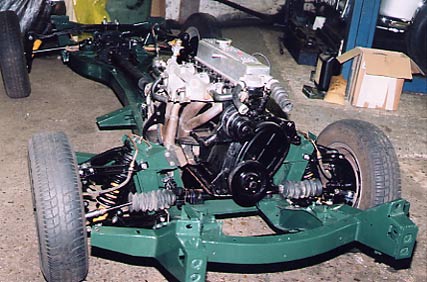
While the bodyshell was away being painted we finished the chassis which is usually colour coded on the small Triumphs. We now install the suspension using new polyurethane bushes - a wonderful recent innovation on the world of classic cars. The engine had not done many miles since its last overhaul so only a clean down and coat of black paint were necessary in this instance.
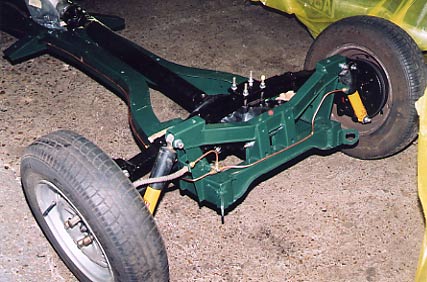
The rear of the chassis. Triumph returned to the original swing axle for the closing years of the GT6's production which is much simpler than the intermediate Rotoflex design. With adjustable Spax shock absorbers to tame it, the rear suspension can be made to work pretty well.
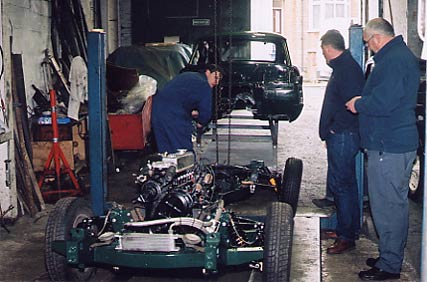
The bodyshell returned form the spray shop where it had been sprayed all over in a nice mid shade of British Racing Green. It was sprayed on one of our workshop trolleys which give a good ground clearance allowing the underside to be sprayed properly. Underside areas are usually sprayed in colour on top of a Schutz rubberised layer that resists stone chips. Workshop visitors gathered to look on as the hoist chain was readied to support one one end of the bodyshell for the operation of transferring it on to the chassis.
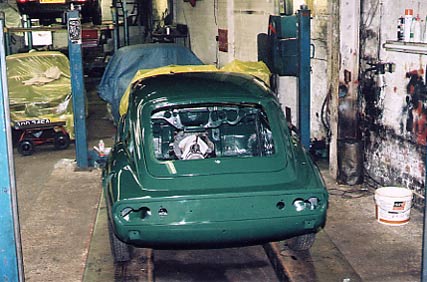
Transfer operation completed! The bodyshell was now mounted safely on the chassis.
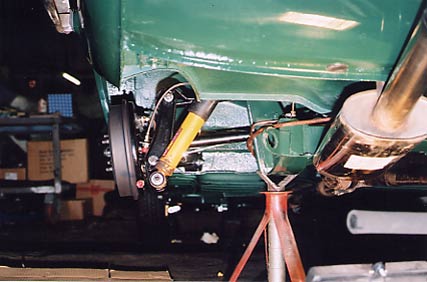
An underneath view of the rear suspension. The slightly textured finish given by the rubberised Schultz layer under the paint can be seen beyond the shock absorber and suspension unit. With a stainless steel exhaust system, the car had a better than new appearance all over.
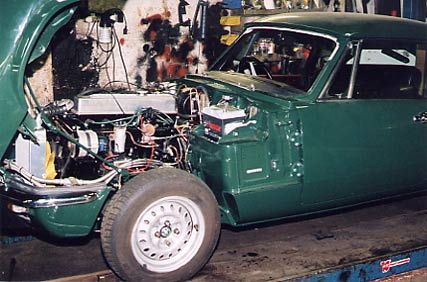
The under bonnet area maintained the high standard of finish found elsewhere on the car. The standard remote brake servo can be seen on the bulkhead. This car had a non-standard oil cooler fitted, hence the two large braided hoses running forwards on this side of the engine bay. The radiator is a high efficiency aluminium unit rather than the usual black item.
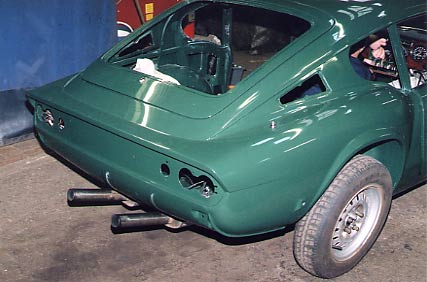
Spot the difference? The owner asked us to de-seam the car, hence we removed the external seams that usually run along the tops of the rear wings and around the rear light panel. It requires a lot of work to strengthen the panel joins internally but really tidies up the appearance at the rear.


