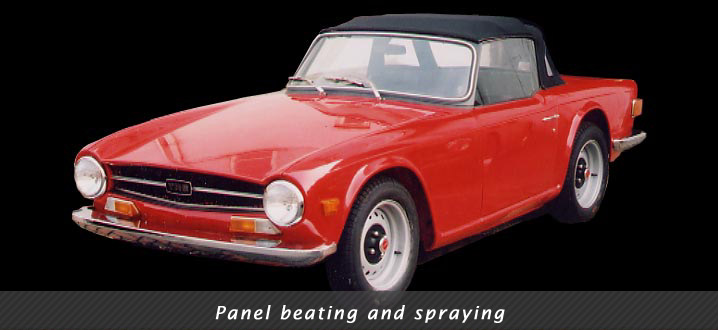
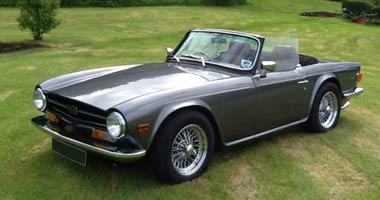
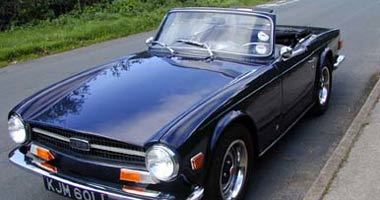
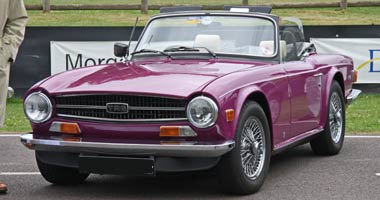
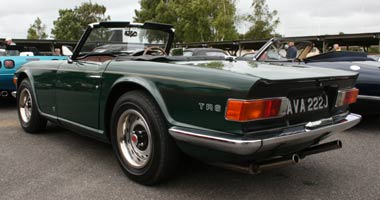
1970 Triumph TR6
Triumph’s TR6 was the culmination of a series of logical developments of the TR sportscar range from the first TR2 of 1953 onwards. It married a smooth and powerful 6 cylinder 2½ litre engine to a purposeful 2 seater body design. It has always been popular as it is fast enough to be fun whilst being easier on the pocket than more exotic cars such as the E Type Jaguar. We have restored many over the years and continue to service and maintain many more. The TR6 was the last TR to have a separate chassis. Incidentally, the Lucas mechanical injection system is far better performance-wise than the export spec. twin carb setup (from the saloon range) and actually is very reliable nowadays, contrary to legend! Beware of buying l.h.d. ‘California rust-free’ cars - they aren’t as rust free as you’d like to think and the engine is seriously detuned. They can cost more to upgrade to European spec than buying a genuine r.h.d. car . . .
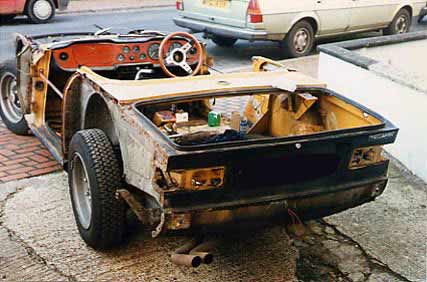
As it arrived, this TR6 had suffered a lot with rust over the years. The interior trim was terminally tatty and the engine didn’t run. However it was a much loved ‘member of the family’ and so restoring it back to ‘as new’ condition was the order of the day. As part of our initial strip down all the removable panels (doors, bootlid, bonnet and wings) were unbolted and the interior trim, fuel tank etc. removed. Notice the door gaps have had bracing bars fitted to strengthen the bodyshell prior to lifting it off the chassis.
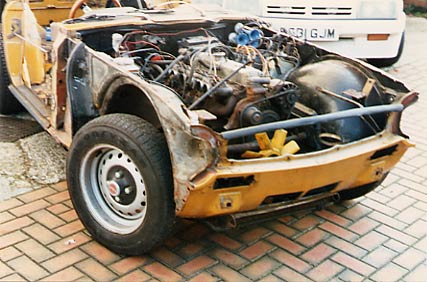
Front view of the same initial condition of the car. The engine bay should be colour coded - presumably someone painted it black many moons ago to hide the rust. Not how Triumph intended it to be...
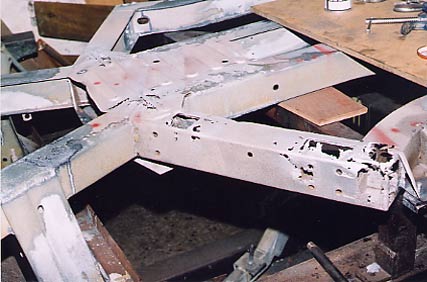
What a shotblaster revealed! This is the underside of the middle of the chassis and that rusty holed limb actually locates the nearside rear
trailing arm. We remade the limb completely from correct gauge steel and simplified but strengthened the internal tubes that locate the suspension bolts but also cause a lot of the rust in this limb design. The chassis was bolted to our chassis jig so its trueness to the original factory drawings could be verified and corrected as necessary.
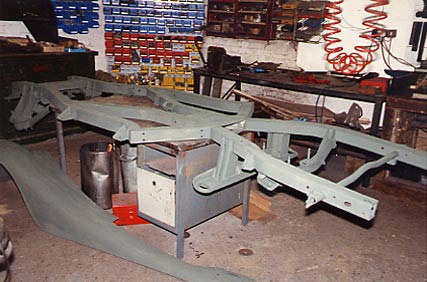
The repaired chassis finished in etch primer ready for its gloss black final finish. We always reinforce the differential mount area and the front lower wishbone mounts, known chassis weak points. This rear three-quarter view of the inverted chassis shows the differential locating pins on the rear cross members.
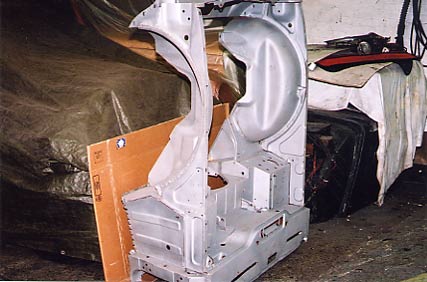
A further strip down of the bodyshell showed the floorpans and sills to be in need of replacement so the door bracing was removed and the bodyshell was cut in two prior to shotblasting. The inner front wings weren’t too badly rusted although there was evidence of brazed repairs that had to be cut out and re-made properly.
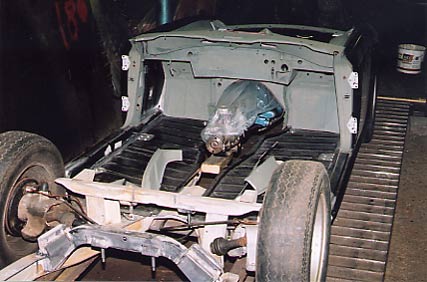
The repaired chassis, still in primer, was used as the basis of the body rebuild. The rebuilt engine and gearbox were installed to provide the correct weight distribution and the old suspension units attached to allow the car to be moved easily. The new floorpans and sill assemblies form the basis of the bodyshell rebuild.
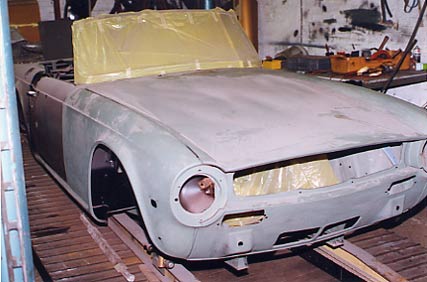
The rear half of the body was also shotblasted, repaired and added to the bodyshell. The new doors and other panels were all repaired and attached to mock up the whole bodyshell. In this way, the correct panel gaps and alignments were verified prior to painting. The chassis still supported it all.
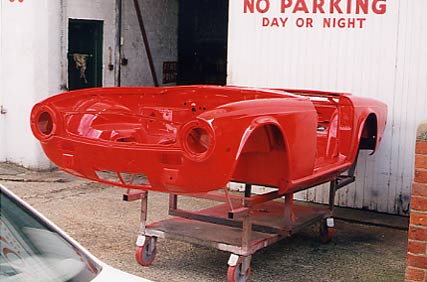
The bodyshell after painting. All removable panels were painted separately, except the wings which on the TR6 (but not on the TR4, TR4a and TR5) are finally painted externally after attachment to the bodyshell. The workshop trolley allowed the underside to be painted also. The colour was Triumph Signal Red, a very popular and attractive choice.
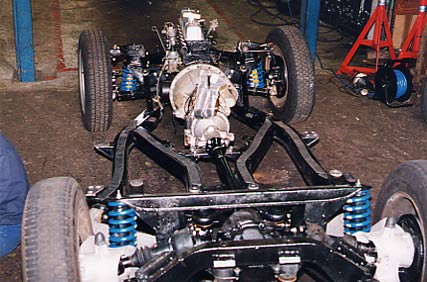
Meanwhile the repaired chassis was stripped down again and sprayed in gloss black. The reconditioned suspension and brakes were added and the engine, gearbox and differential were fitted. The rubber strips on top of the main chassis limbs stop the floorpans from vibrating.
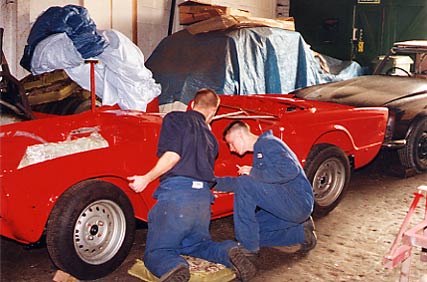
The alignment of the bodyshell onto the chassis is always a delicate operation ands so it proved in this case. The removable panels (doors etc.) were bolted on next and then the reassembly operation started.
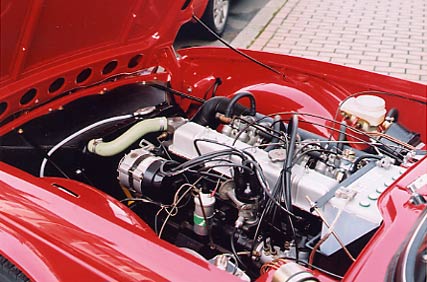
The finished engine bay - what a contrast to the how the car was at the start of the project.
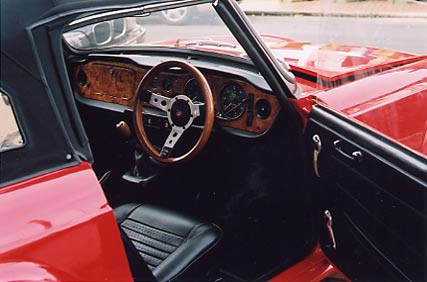
The new interior. The owner chose a Mohair hood, walnut dashboard, wood rimmed steering wheel and wooden gear knob to personalise his car. One reason the TR6 is such a popular choice to restore is that all items of trim etc. are readily available, of good quality and reasonably priced.
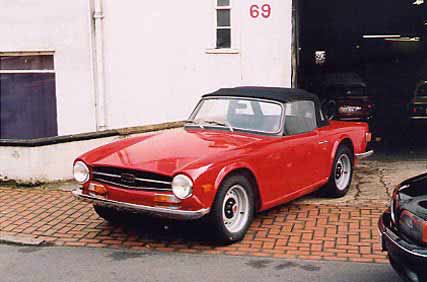
The finished car! It looked and drove as good as new


